Setup your blog in minutes
24 Nov 2017
GitHub Pages provides a great way to host your static blog directly from a GitHub repository.
I strongly recommend you to read about how you can setup a complete site from scratch on GitHub Pages. You will get a really good understanding of the steps involved to host a HTML and CSS based site on GitHub Pages. You will also learn what it takes to setup a Jekyll based site from scratch on GitHub Pages.
Setting everything from scratch is fun for sure, and a much more fulfilling experience. There is more opportunity to learn and you will understand how all the pieces fit together, but it takes considerable time.
For those who want to setup a Jekyll based blog or website in minutes, hydeX is the solution.
Step 1 : Fork hydeX to your GitHub repository
Click the “GitHub Fork-me Ribbon”, at the top right corner of the sidebar to navigate to hydeX GitHub repository.
Fork the hydeX GitHub repository to your GitHub account using the Fork button at the top right corner.
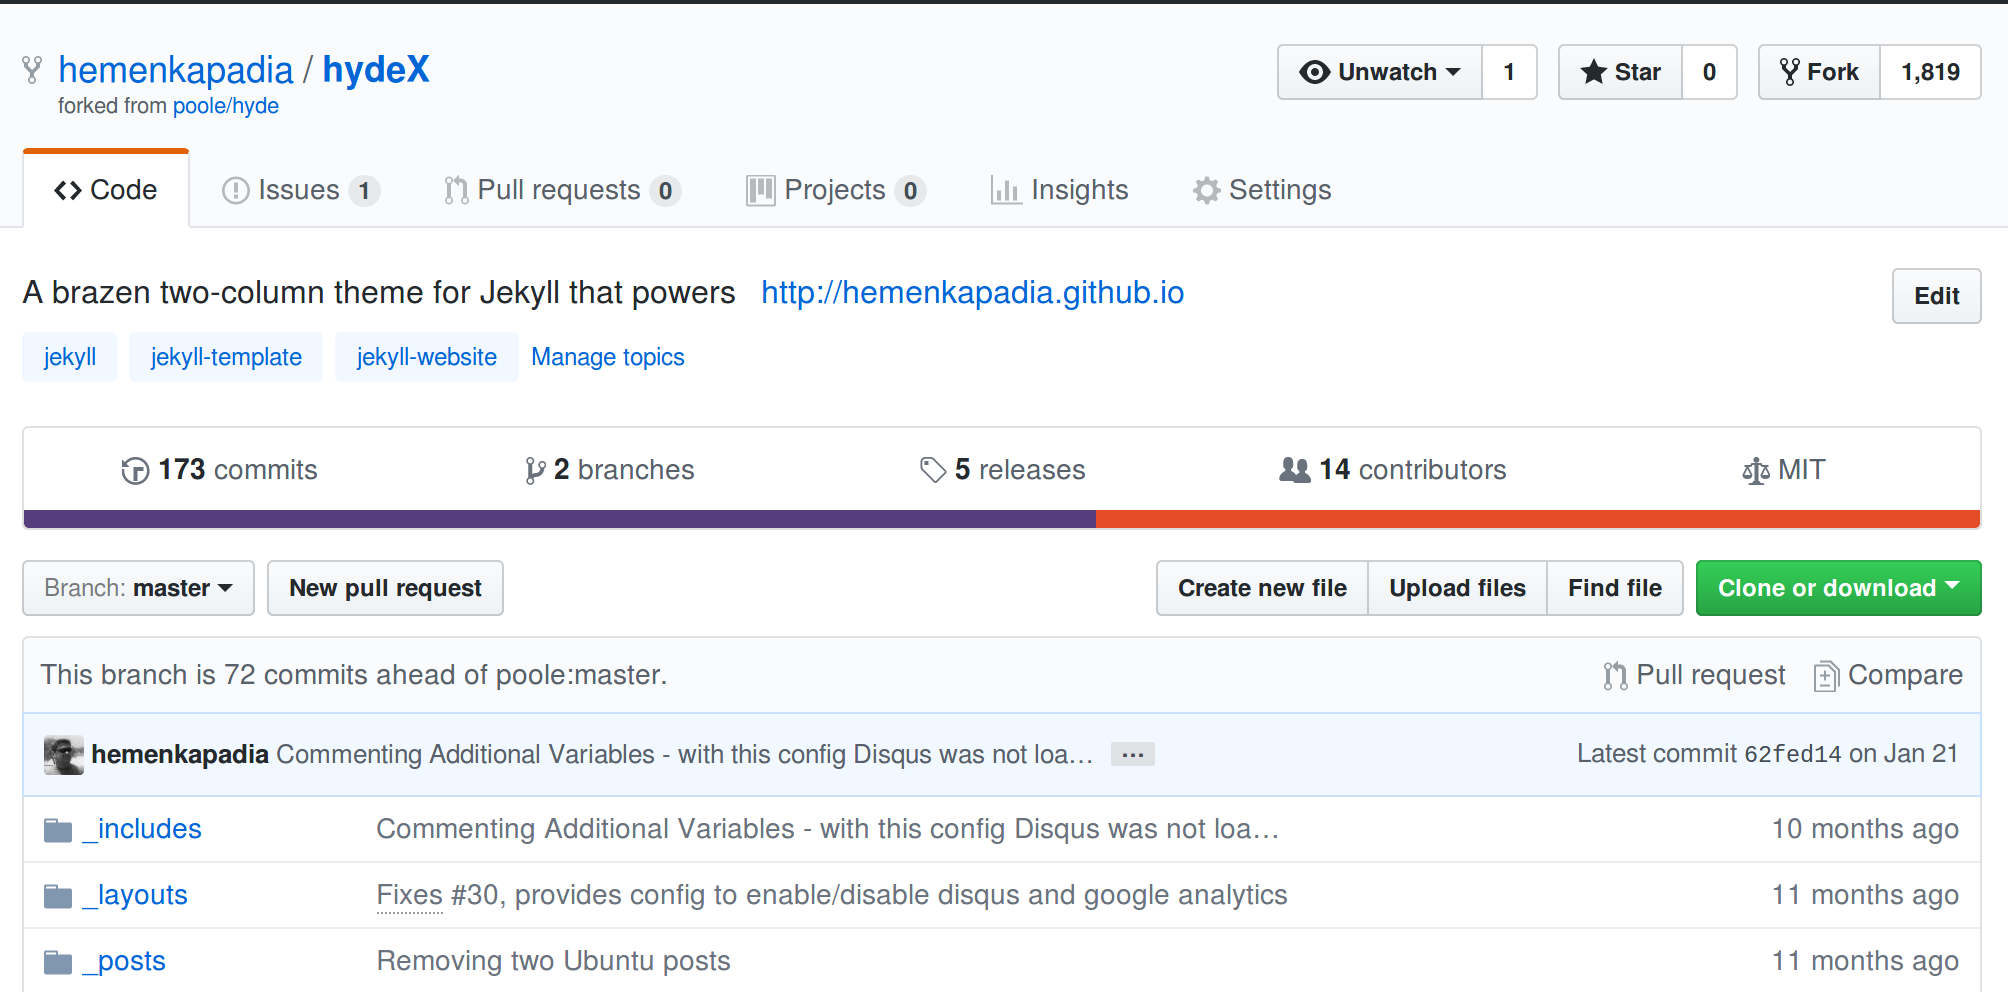
Step 2 : Update your repository name and publish branch
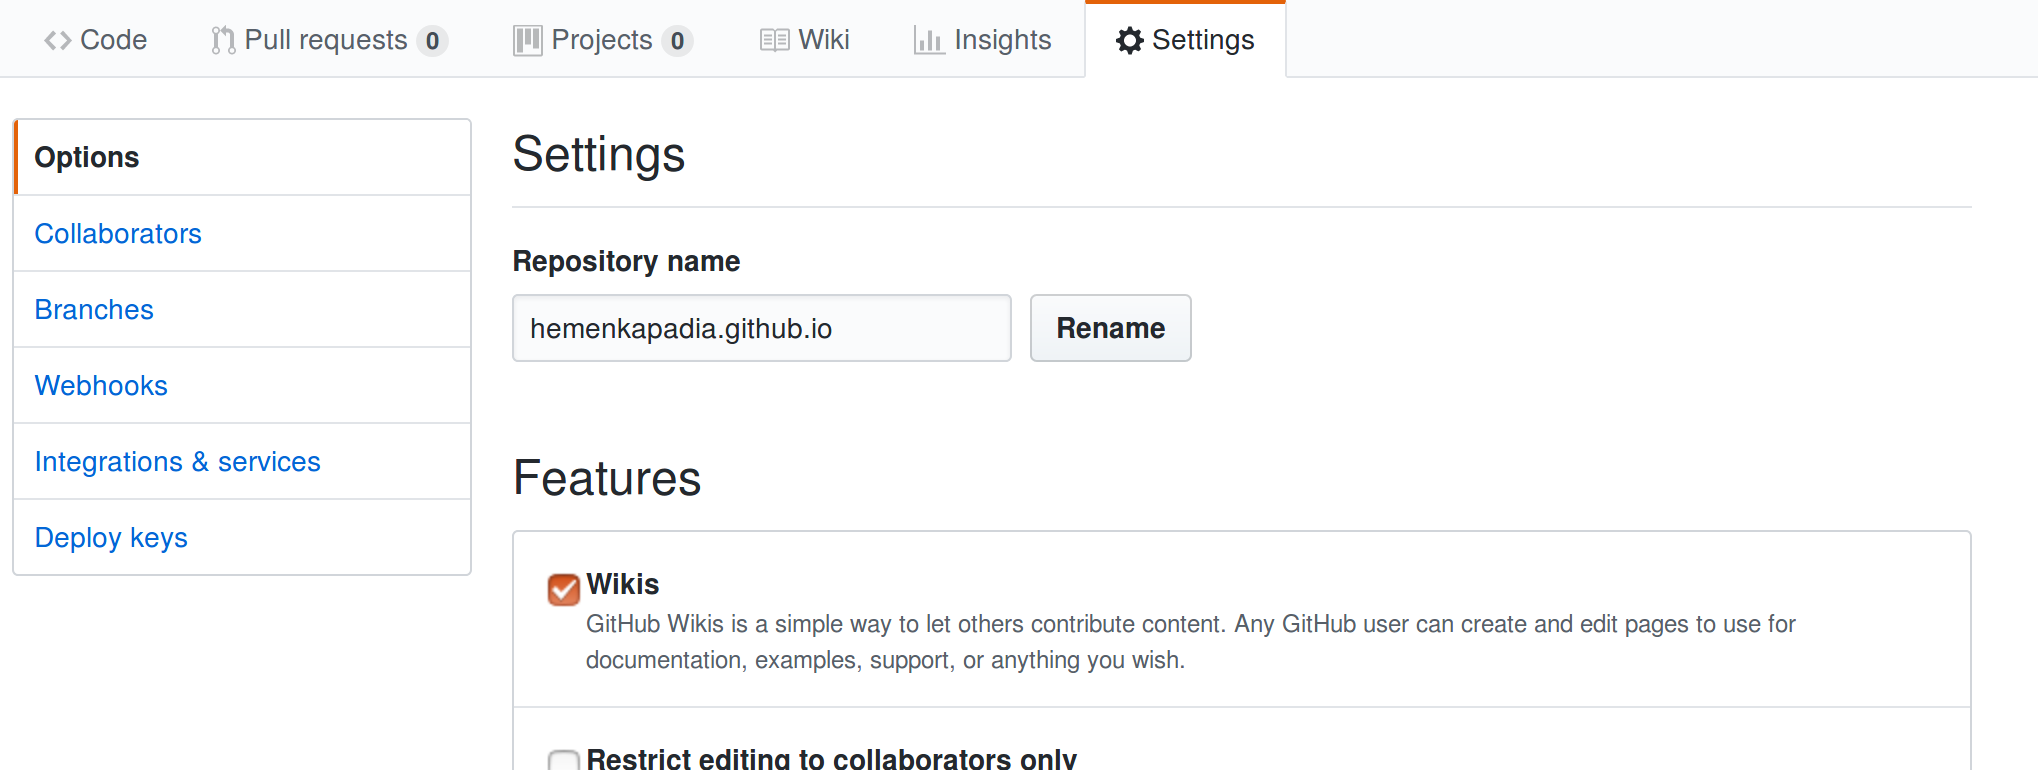
Once hydeX repository is forked to your GitHub account, go to the Settings tab of the forked repository. Update the repository’s name to yourGitHubAccount.github.io e.g. my GitHub account is hemenkapadia, so I would rename the repository as hemenkapadia.github.io. Here, I am assuming that you are creating a User Pages site.
I strongly recommend you read about User, Organization and Project Pages to understand the reason for the repository to be named as instructed above. You will also understand the limitations of publishing source branches in case of User, Organization and Project Pages.
Next, we need to set the branch used to publish your blog. Select master from the available options and hit the Save button next to the branch drop-down. Note that you may not see exact the same branches as shown in the image below, but you will definitely see master which is the only branch we are concerned with at the moment.
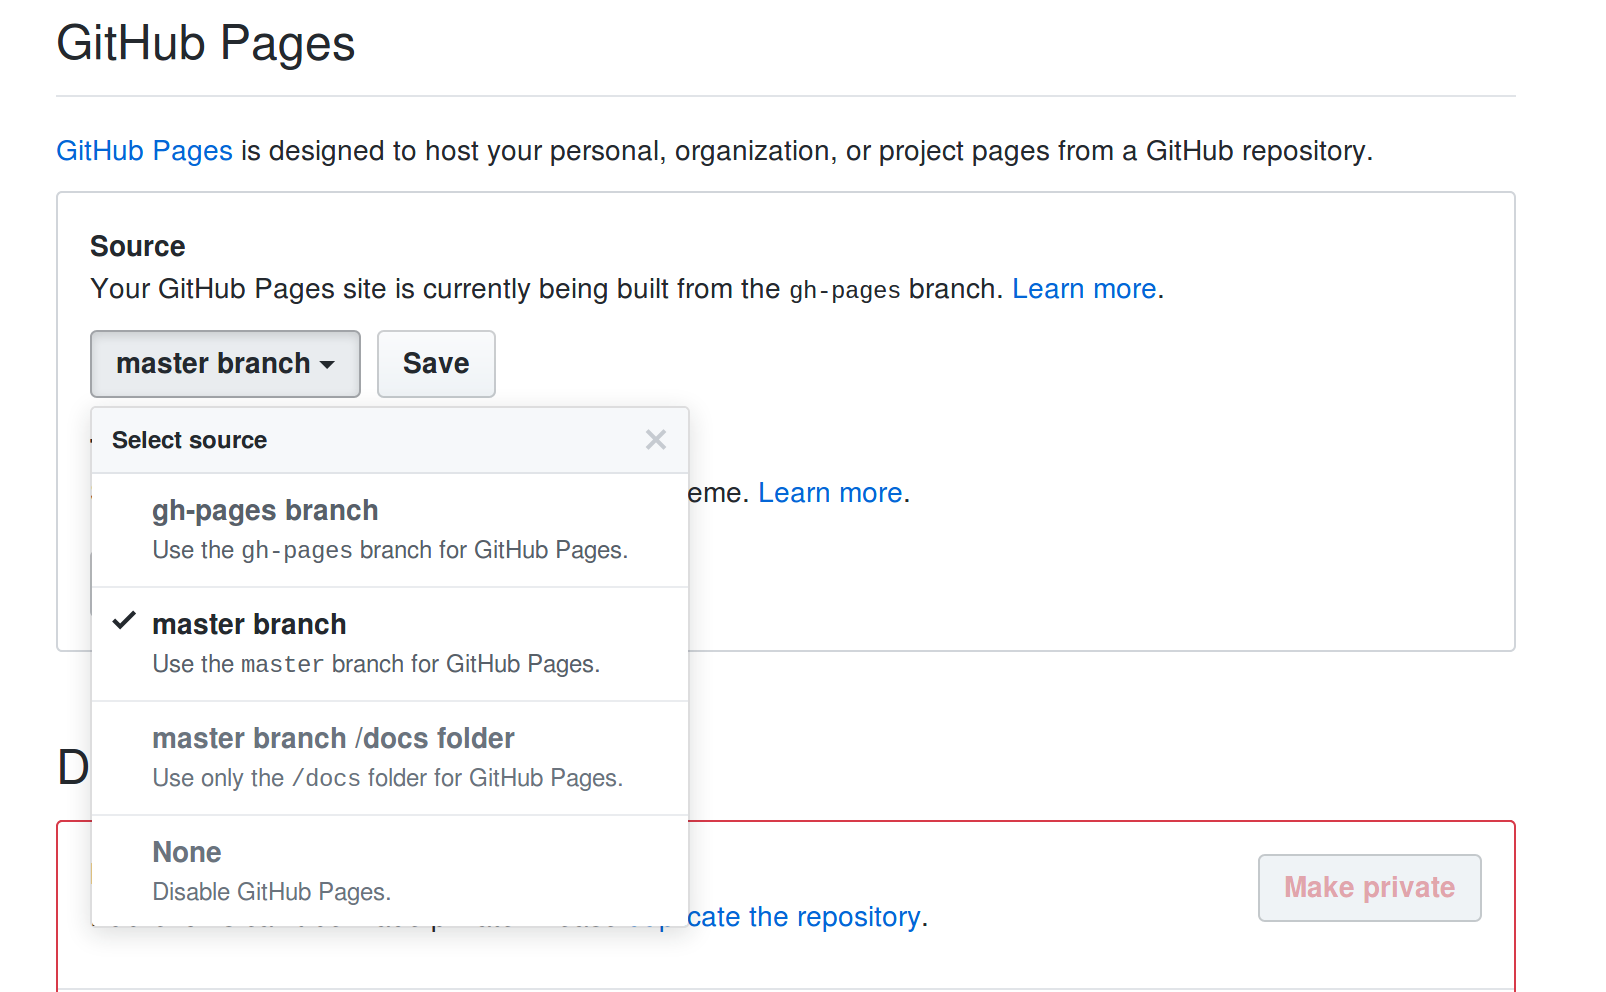
So now you have instructed GitHub to publish your blog from the master branch. Any changes you publish to the master will be built and deployed and will be reflected on your blog.
Recommend Reading : Configuring a publishing source branch for GitHub Pages
Step 3 : Update Disqus and Google Analytics settings in config file
Since you forked the repository from which hydeX is published, the _config.yml file contains hydeX specific settings for Google Analytics and Disqus. Even if you do not want to have Google Analytics and/or Disqus integration with your blog, or do not have the details specific to your blog available right now, you still need to remove hydeX specific configurations from your file immediately. Failing to do so will result in messing up my analytics and comments sections for hydeX.
You can immediately edit _config.yml using the web interface provided by GitHub. Click on the _confg.yml file in the code listing, then click on the edit icon (the small pencil shaped icon next to the History button) to edit the file.
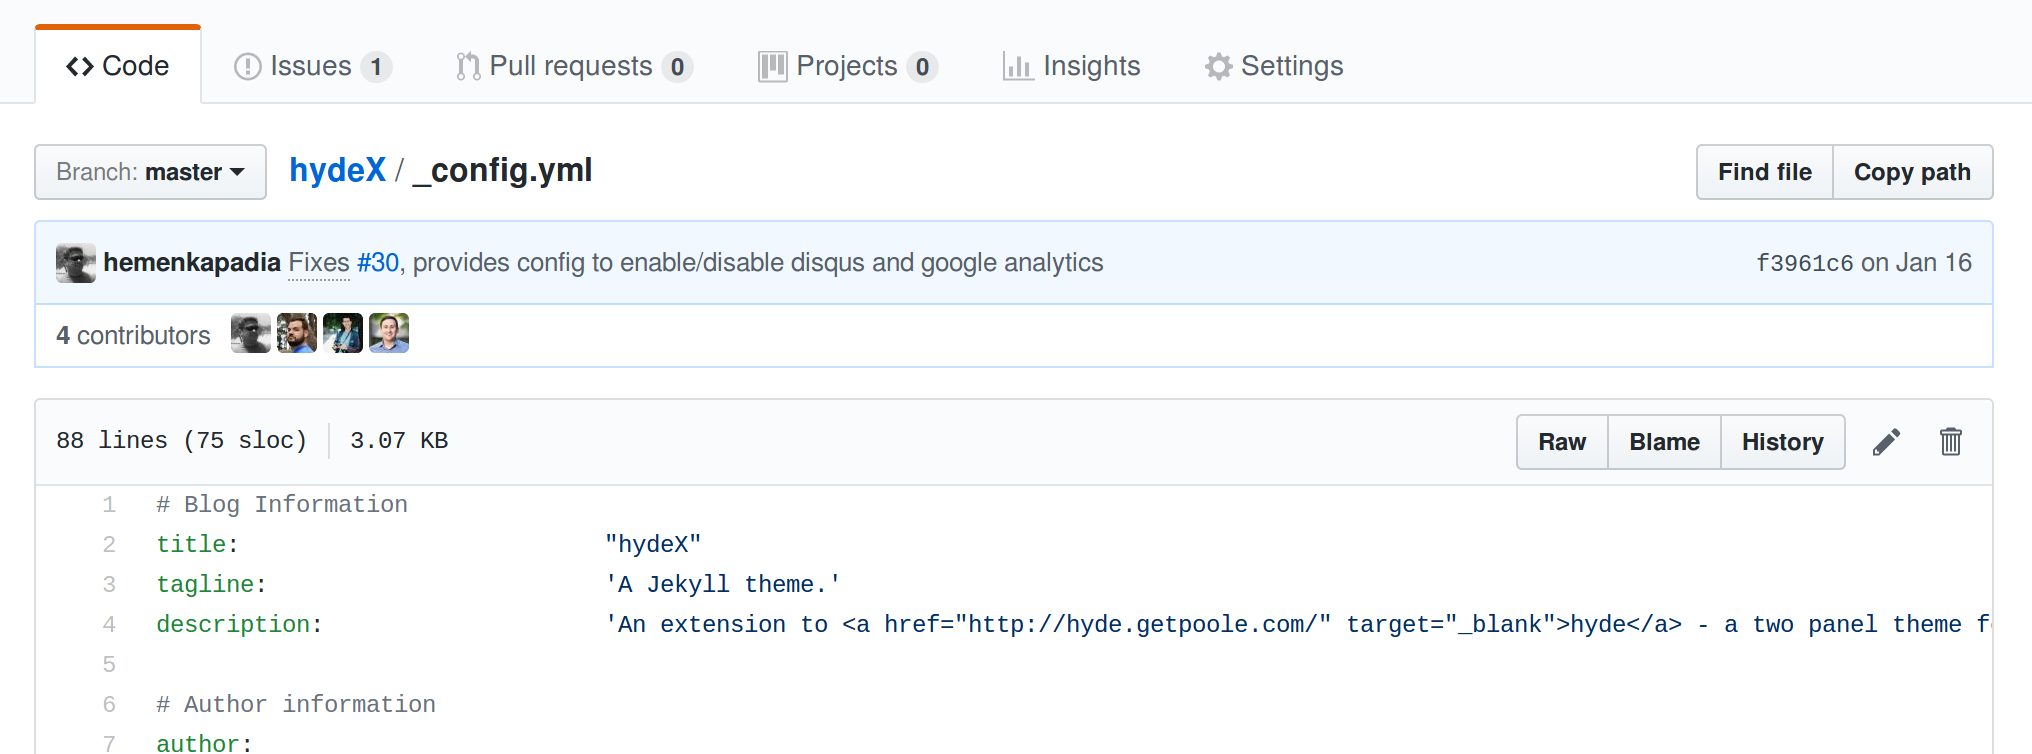
Update the settings for disqus_src and ga_id as shown below.
# Disqus Configuration
#
# CAUTION : If you forked hydeX, please update disqus_src value to that of
#           of your blog. If you do not have one, change to example.disqus.com.
#           Keeping it hydex.disqus.com will cause all comments to show up on
#           my blog
#
disqus_enable:                  true
disqus_src:                     example.disqus.com

# Comments - Google Analytics Configuration
#
# CAUTION : If you forked hydeX, please update ga_id value to that of your
#           blog. If you do not have one, change to UA-00000000-0.
#           Keeping it as is will cause all traffic to show up in my Google #           Analytics setup
#
ga_enable:                      true
ga_id:                          UA-00000000-0
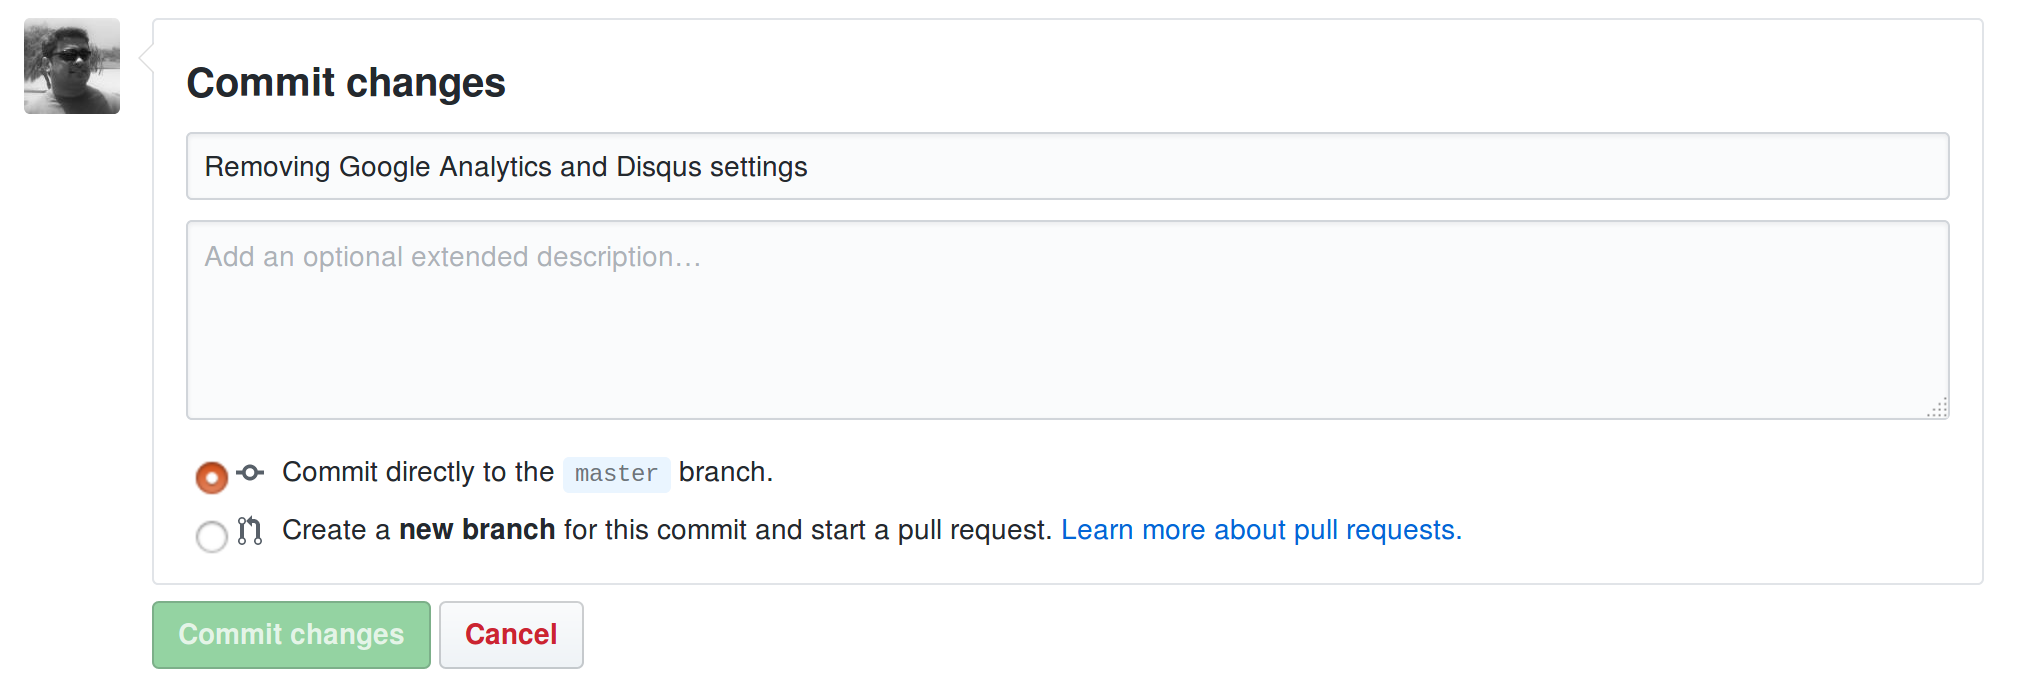
Once updated as shown above, save the file and commit the changes to the master branch.
That’s all that is needed to get your blog up and running.
Step 4 : Check your blog
Go ahead and check your blog. It would be published at https://yourGitHubAccount.github.io.
At this point you will see that the contents of your blog are same as that of hydeX. This is because you forked the repository used to publish hydeX.
Step 5 : Updating
Updating your blog, or creating a new post is now regular GitHub process flow. I strongly recommend installing Jekyll on your local machine and then working out of a local clone of your GitHub repository.
Comments